In-Mold Lamination – Combining Multi-Step Processes into One
A multitude of different processes can take place in the creation of an injection mold. At CS Tool Engineering, we possess vast experience in the design and formation of many different styles of in-mold lamination.
The underlying process of in-mold lamination involves injecting the backside detail of a mold underneath the finished cover goods material. In doing so, design considerations must be given to:
- Gating
- Plastic flow distance
- Locating and retaining the cover goods in place during the entire molding cycle
- Cavity finish
- Any needed mold actions
Our Expertise
At CS Tool Engineering, our in-mold lamination expertise includes:
Plastic Inlay Molding
 This is a process whereby a thin, decorated, vacuum-formed thermoplastic cover stock is placed in the cavity half of the mold. This vacuum-formed “inlay” started out as printed roll stock. It is heated and vacuum formed in a single-sided mold that matches the cavity surface of the injection mold. Once formed and trimmed, the inlay is placed into the injection mold cavity half, usually with a static electric charge to position the inlay and keep the inlay in place during the mold close.
Once the two mold halves are closed, the ejector half serves to trap the inlay tightly against the cavity surface of the mold prior to the fill cycle. Gating for this type of molding generally entails the use of a subgate, so that the hot liquid-state resin begins to fill the cavity on the underside of the inlay. Gate locations for inlay molding are more numerous than those for conventional injection molding. That’s because filling the cavity evenly under the inlay is important, as is maintaining the flow length of resin from the gate.
Common problems with inlay molding are melting through the inlay during the injection cycle, or bleeding of the injection material between the mold cavity surface and the inlay. Additionally, the flow length or uneven cavity filling can create wrinkles in the inlay, resulting in an unacceptable part.
The advantages of inlay molding include:
- The ability to create intricately decorated parts, because of the design patterns that can be printed.
- The parts are not subject to flow lines or molding imperfections, as the inlay serves as a decorated cover for the molded part.
- Colors that may have required a secondary painting operation can be eliminated.
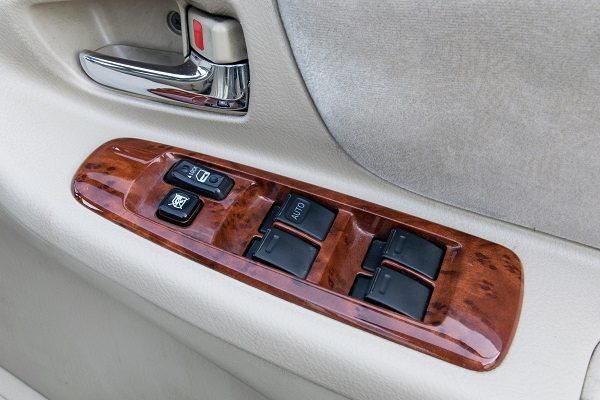
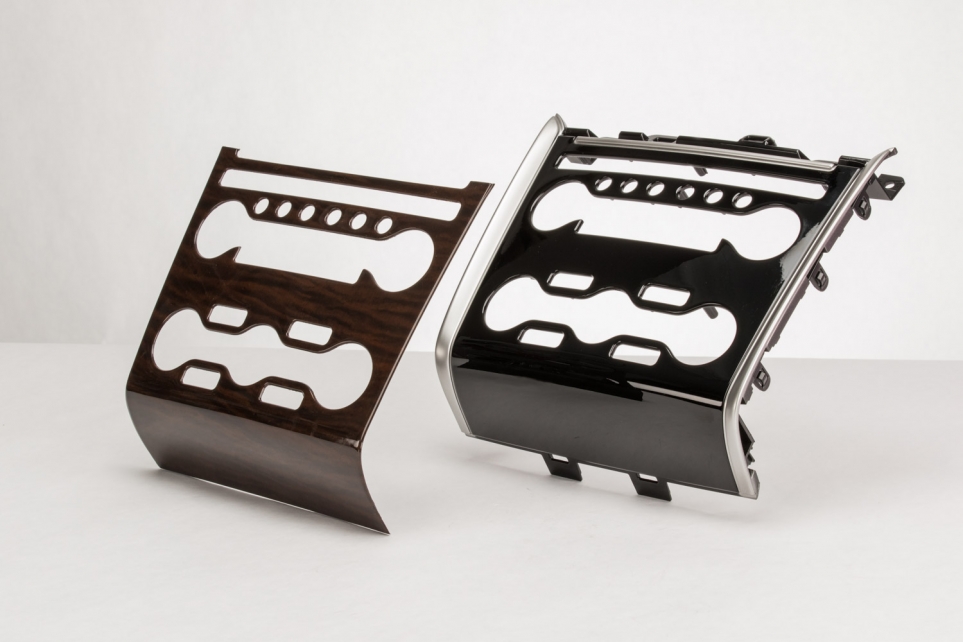
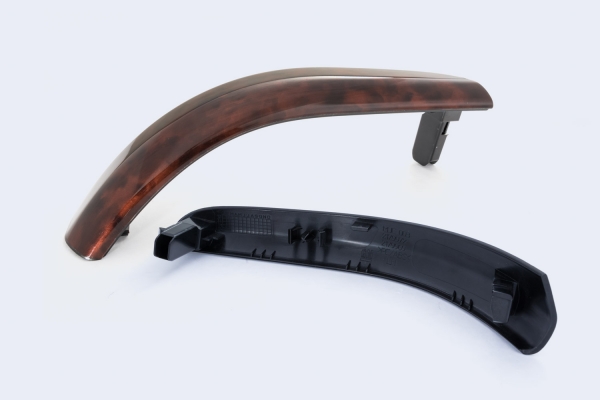
Wood Inlay Molding
 At CS Tool Engineering, we’re also experienced in wood inlay molding. Wood inlays require a retention system to keep the inlay in place during the mold close cycle.
Typically, the wood inlay is produced oversized from the finished goods. It is then loaded into a mold that is designed to accommodate the inlay. All of this is accomplished while maintaining the correct shutoff required to pinch off the wood and contain the resin during the fill cycle.
As with plastic inlay molds, even fill of the cavity is critical to help keep injection pressures low and minimize cavity-side resin bleed-through. Once molded, the oversized wood inlay and injection-molded part are machined to size on a multi-axis machine. The wood surface is finished on a secondary operation.
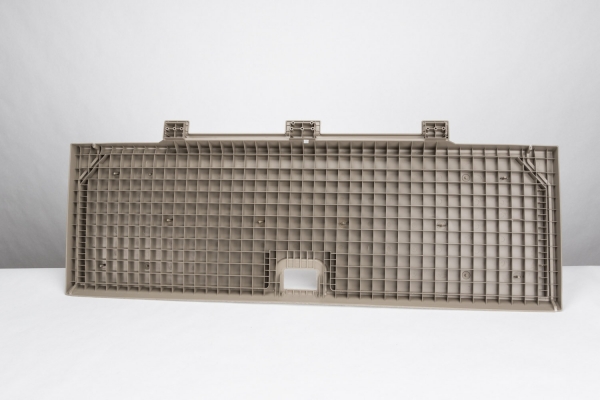
Mold Behind
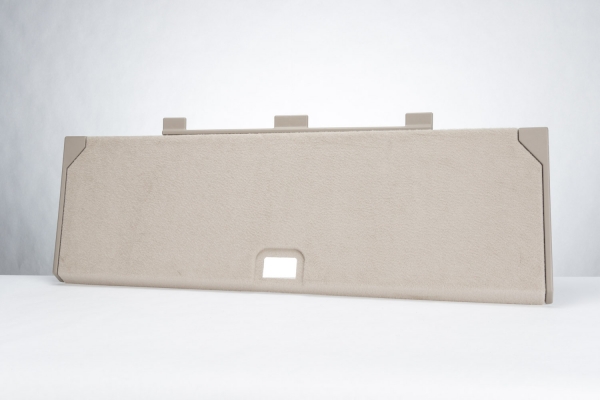
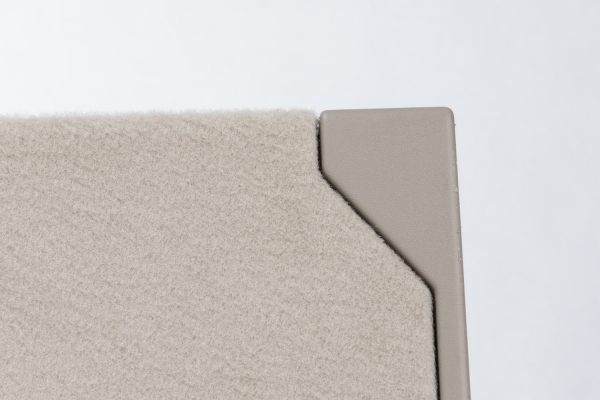
Mold behind is a process by which a fabric of material is inserted into a mold cavity with the underside injection molded. With mold behind, an in-mold lamination occurs between the fabric material and the injection-molded resin. The end result is a finished goods “show side” of the part while adding structure and attachment points to the backside of the part.

For this process, the fabric is typically larger than the cavity so that the material may be held in position prior to the mold closing. Upon closing the mold halves, and beginning the mold filling cycle, the design of the mold trims the fabric to the edge of the mold cavity. This eliminates the need for a secondary trimming on the molded part.
Mold behind is limited to shallow-draw parts, such as automotive side panels. However, deeper drawn parts have been molded with the use of preformed fabric blanks that match the deep-draw requirements
Here again, gating is critical on this type of in-mold lamination. Bleed-throughs at the injection points can cause unsatisfactory results, because some fabrics cannot withstand the injection pressure or heat of the resin entering the mold cavity. Proper flow length and even cavity filling are critical to help eliminate wrinkles. This requires numerous gating locations.
Whether you need plastic inlay molding, wood inlay molding or mold behind, CS Tool Engineering possesses the engineering expertise, mold-building talent and molding software to take on your next in-mold lamination project.